
Topics covered:
- Sign Up
- First Login
- Account Setup
- Creating additional users
-
Before you start using Pilot you will need to create and setup an account. You can find the sign up form by clicking the link Sign Up on the top of the Pilot homepage.
-
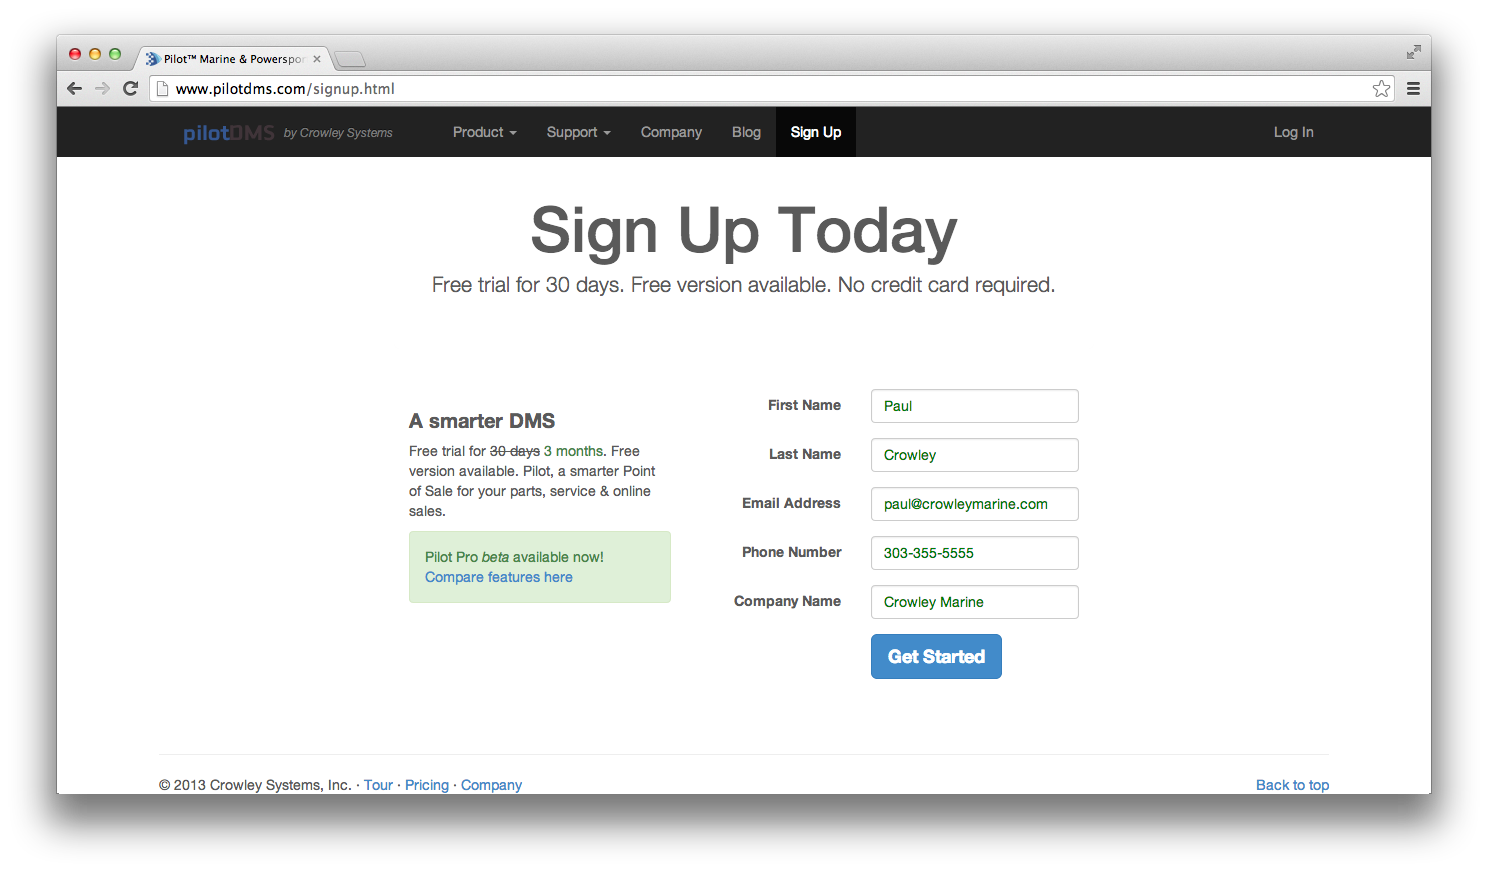
Enter your information and when you are finished click the button labeled Get Started. This will create an account for you in the system, generate a temporary password, and send the password to your email.
-
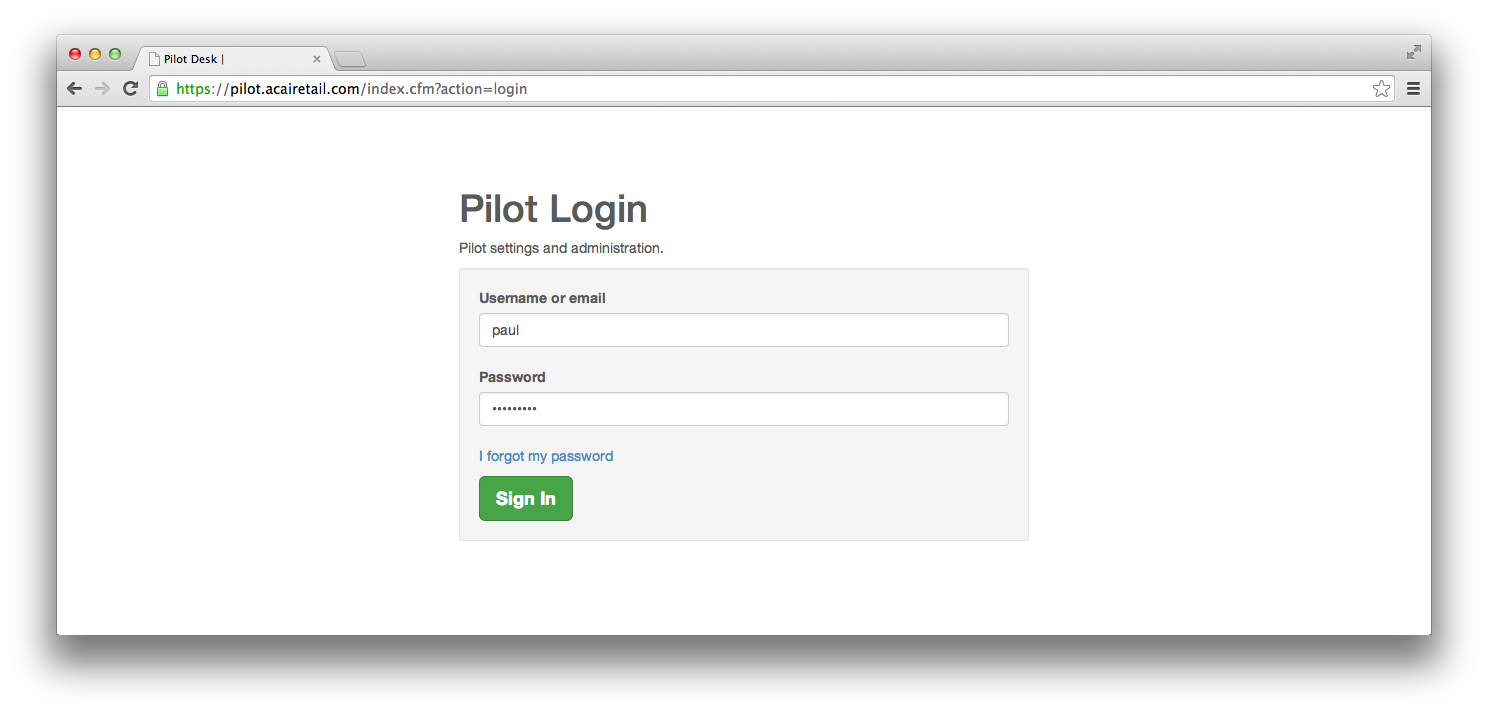
You should receive the password instantaneously, however it may take a few minutes in some cases. Once you have the email in front of you you are ready to login. Go back to the Pilot homepage and click the login link at the top of the screen. Sign in using the credentials that you were emailed.
-
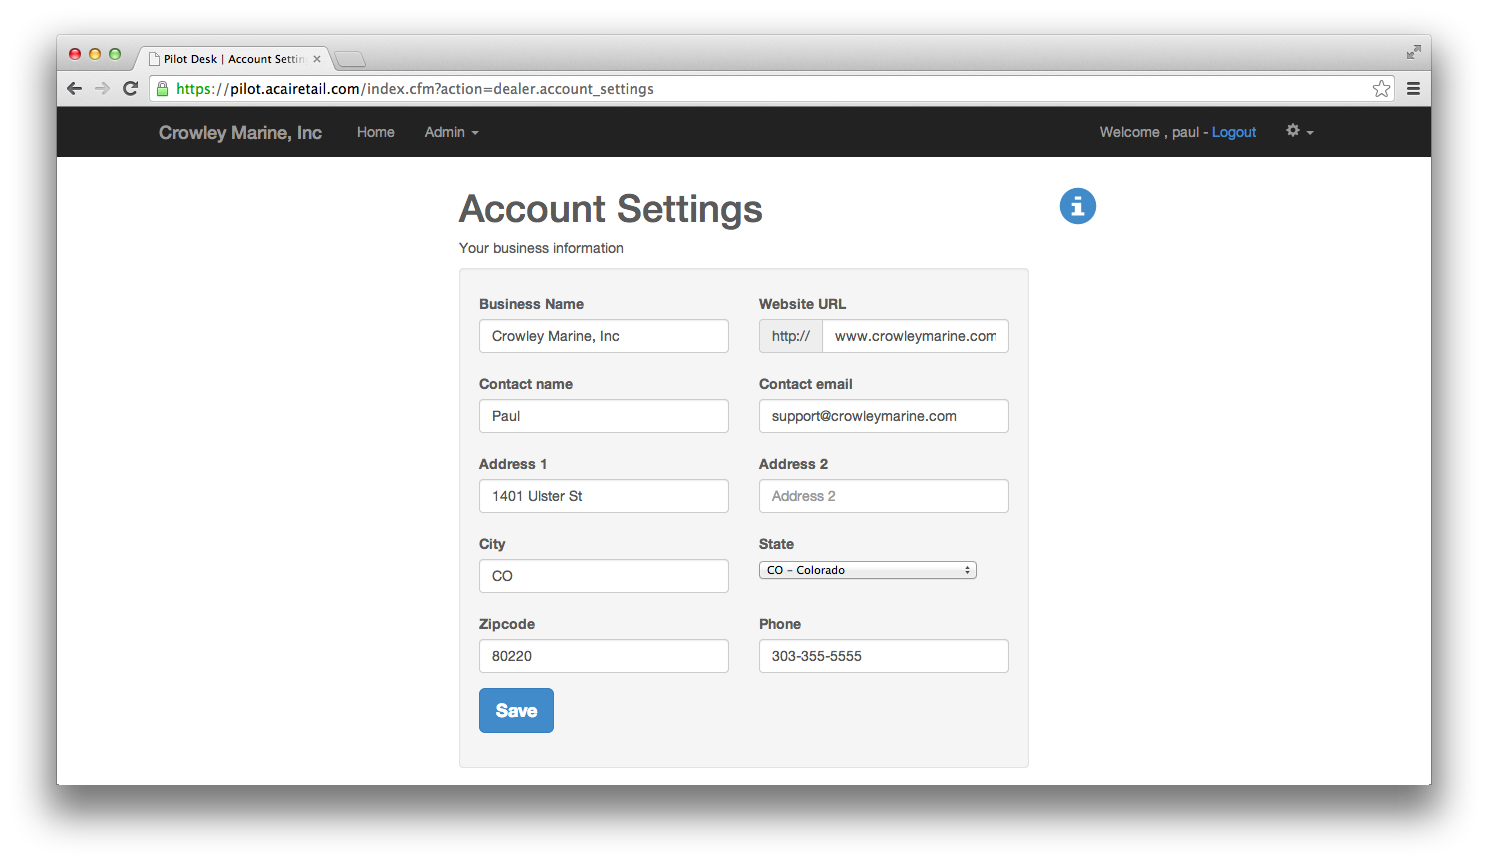
Once you are signed for the first time you will be prompted with the My Account screen. It will be necessary to finish entering your business information before continuing. Many of the features within Pilot Point of Sale and Shopping Cart rely on this information so please make sure it is accurate. One item to note is that contact email may be different than the email you signed up with. It will be used as the return email address when status emails are sent to your customers.
-
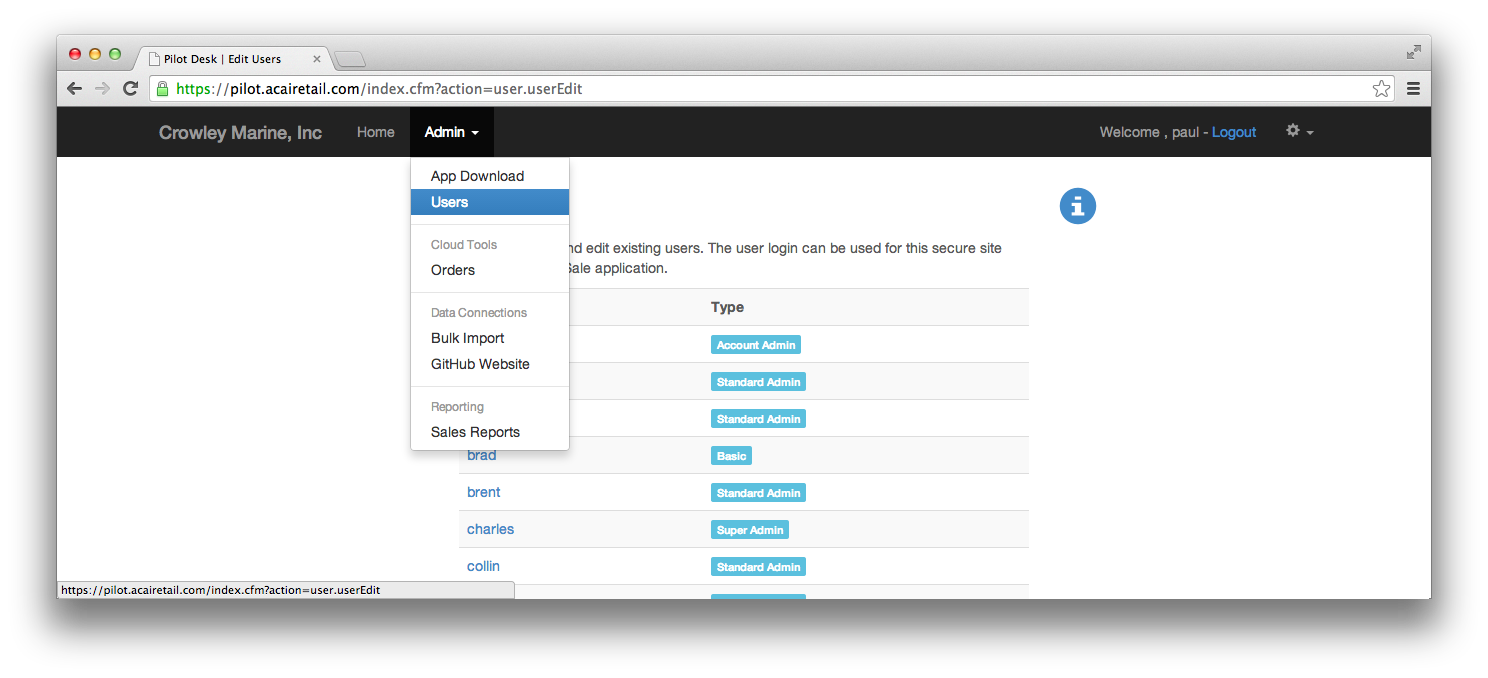
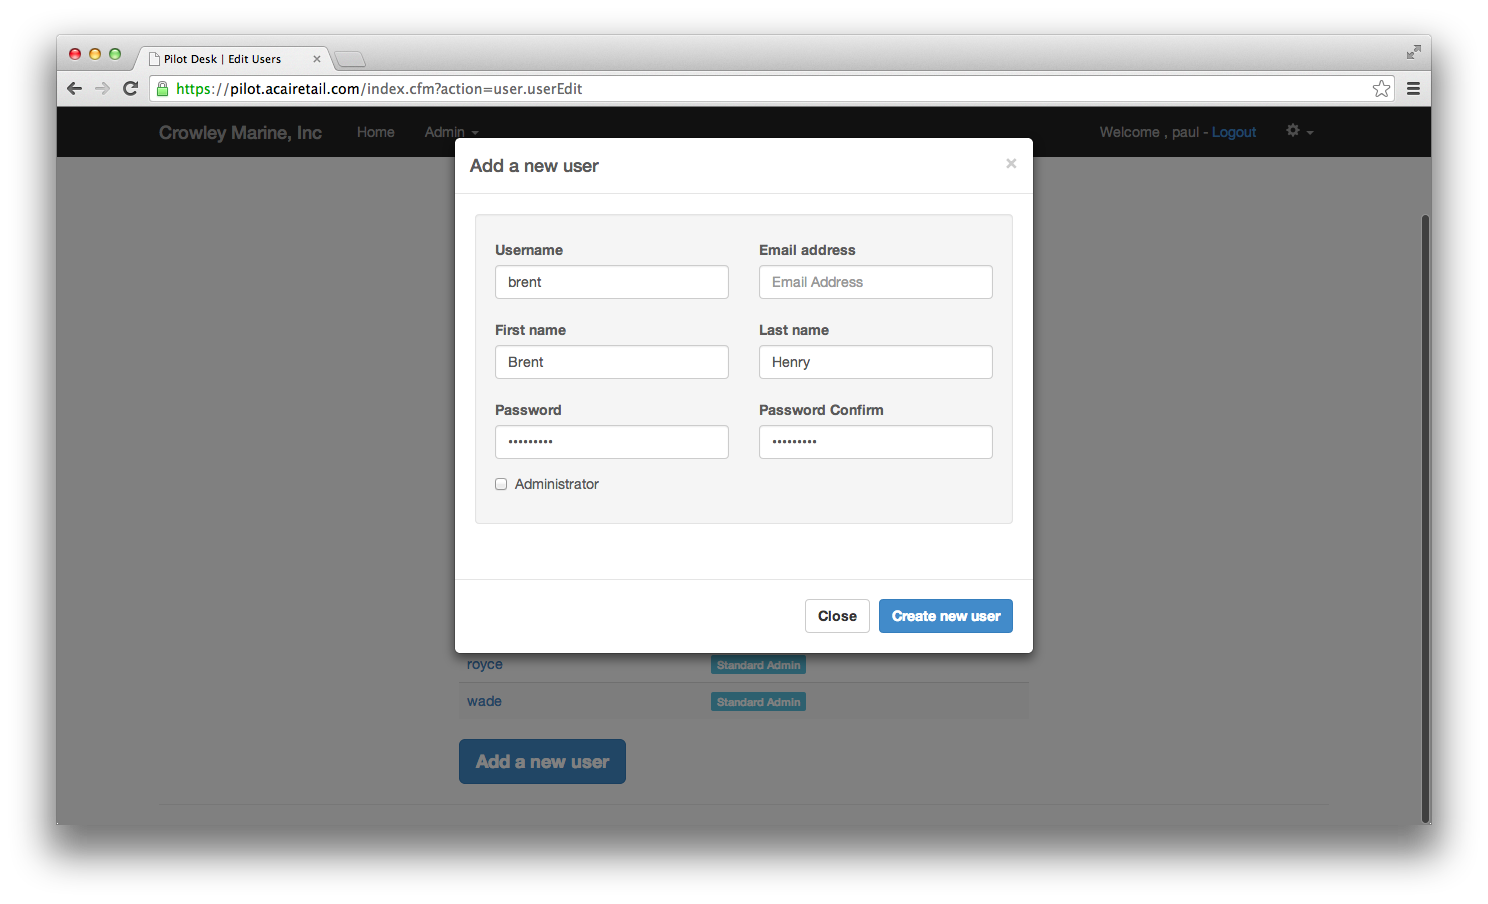
The last setup step is to create an additional user. This step is optional, though recommended if you have more than one person using the system. Click the Admin tab then on Users. At the bottom of the page there is a button to Add a new user. Enter the new users information, then click Create new user to save. If the Administrator field is not checked the user will be a standard user, only able to access basic settings and the Point of Sale application. This is recommended for most users.
This completes the initial setup of Pilot. The next step will be to add suppliers to your store.