Topics covered:
- Automatic and Manual
- Downloading
- Checking Parts in
Purchase order can be created in two ways, automatic and manually. Automatic is preferred, for the most part you should never need to manually create a purchase order. They will be created in one or two different scenarios, depending on your inventory management settings.
-
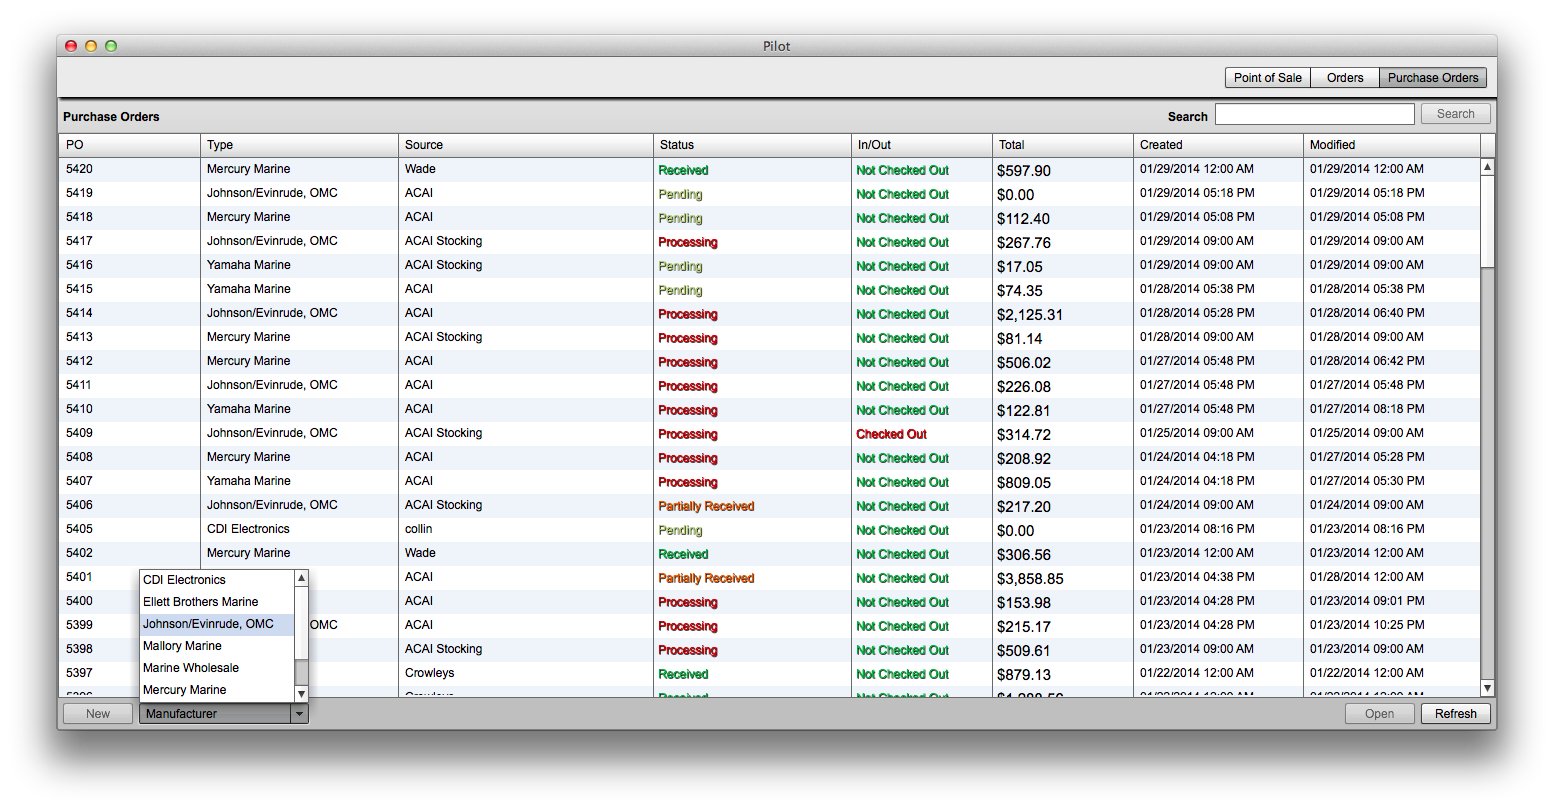
In the rare event that you need to manually create a purchase order you can do so from within the Pilot POS. From the Purchase Order tab select the appropriate supplier from the drop down on the bottom left and then click new. You can then search for parts to add manually.
-
Once you are ready to send off your purchase order you can open the Purchase Order then click on Download to download it to your computer. For all of the managed suppliers we generate the purchase order in the exact format needed for direct upload to your supplier. Move the PO from your Pilot Point of Sale directly to your supplier in just a few clicks.

-
After you receive the parts from your supplier you are ready to check them in. Open up the Pilot desktop application and click on the Purchase Order tab. From here you will see a list of Purchase Orders in your system. Pending POs have not been sent off yet to the supplier. Processing POs have been sent and still have items that need to be checked in. Received Purchase Orders have been 100% checked in.
-
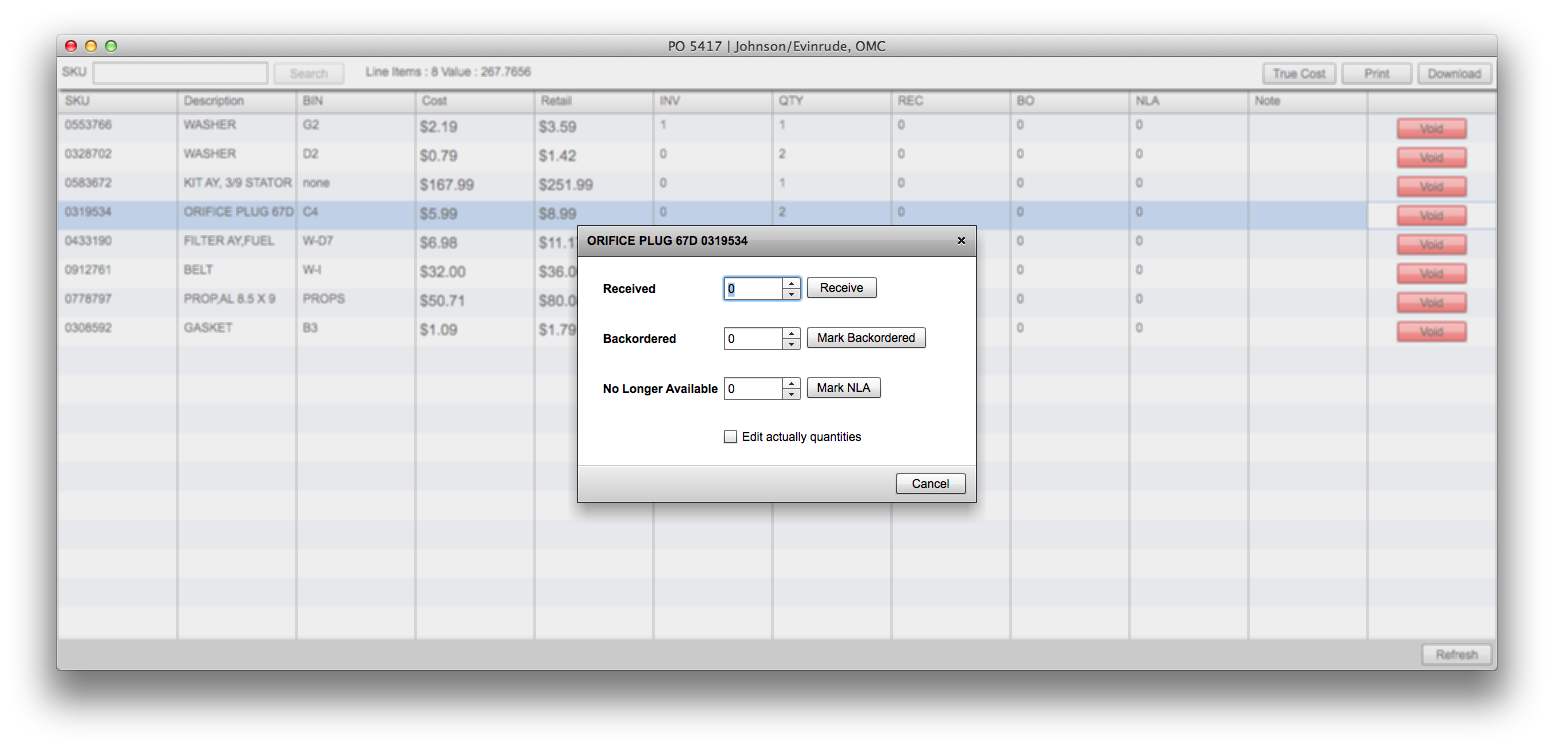
Open up the corresponding purchase order and double click a part to check it in. You will be prompted to enter a quantity, or mark the item as backordered or NLA if it is No Longer Available. Click return and you will be promoted with the next part. As easy as that. Inventory will be updated in the database and emails will be sent to your customer if a part on their order is backordered or no longer available.